Phone and video consultations are on the rise, and photos are becoming an important part of having an appointment with your vet.
This page explains how to take useful pictures for your vet to look at.
We have included some general guidance as well as specific advice about particular areas of your pet’s body.
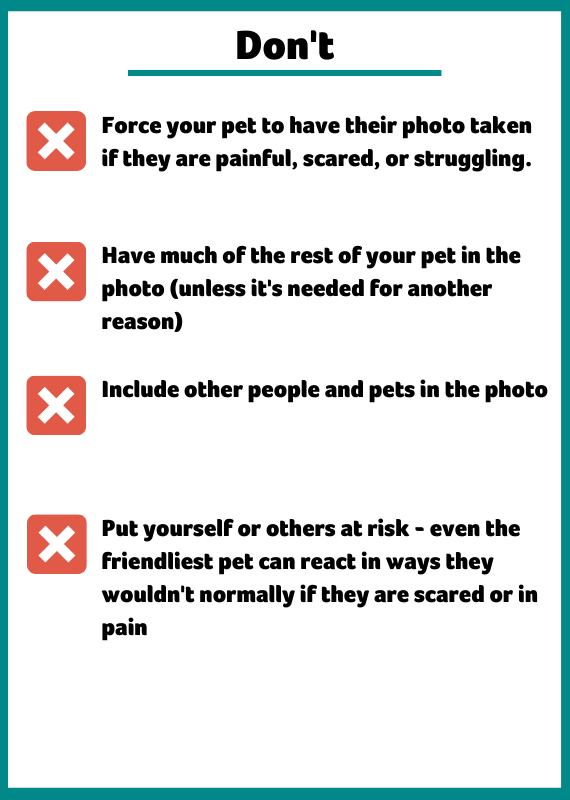
Never force your pet to have their photo taken, especially if they are in pain, frightened, or panicked. If you’re struggling, contact your vet for advice.
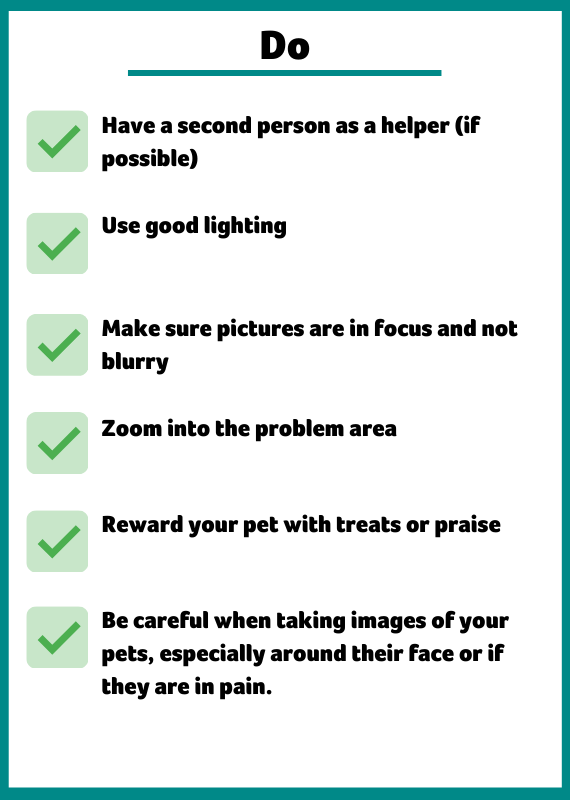
General guidance
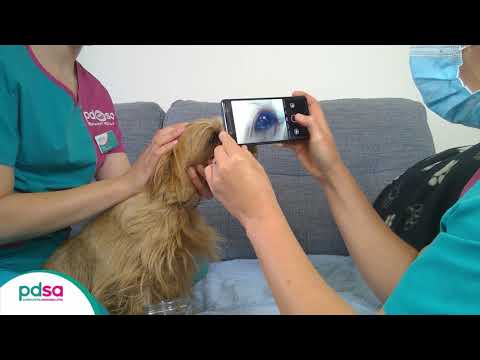
How to take photos of your pet's eyes
Video found at youtu.be/zJrS3DqzwxI
Turn your flash off
Get your pet to look straight at the camera.
Zoom in as much as you can without losing focus.
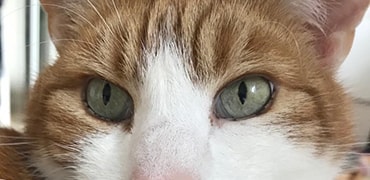
If you are worried about something on the surface of the eye, make sure it's clearly visible – it may help to take a side-on view (as shown in the first picture below).
If only one eye is affected, it's useful to also have an image of the 'good' eye for comparison.
How to take photos of your pet's ears
Video found at youtu.be/urHfoaaww60
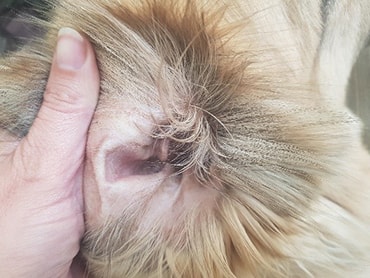
Your vet needs to see as much of the earflap and ear canal (inside the ear) as possible.
Lift their earflap and move any fur out the way.
Zoom in but make sure the photo stays in focus.
It might be helpful to use a light or flash.
If necessary, take a video.
Be very gentle - sore ears can be extremely painful.
How to take photos of your pet's teeth and gums
Video found at youtu.be/0MBCoAGG7Dc
There is no need to open your pet’s mouth, just wait until they are relaxed then gently lift their lip.
If you have a second person, have them hold your pet and gently lift their lip whilst you take the picture.
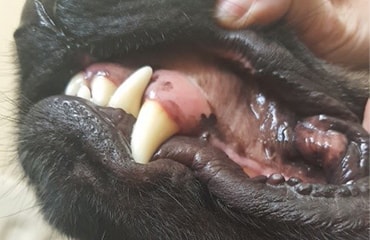
If your vet needs to see the colour of your pet’s gums, try to capture as much gum as possible - usually the area above the big canine tooth (at the front) is the best.
If it’s the teeth you are worried about, make sure the affected teeth are visible, along with the gum around them.
Note: this may be more difficult for cats and dogs with short-noses as they tend to be a bit more reluctant to have their mouth touched.
Always be careful when putting your hands/face near your pets’ mouth.
How to take photos of your pet's abdomen (belly)
Video found at youtu.be/uBAT037ht-s
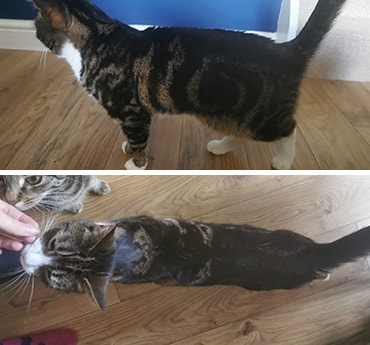
If you’re worried about your pet’s stomach or abdomen (for example if it’s swollen, bloated or painful) you vet will need to see a photograph from side-on and above.
This is also the case if your vet is trying to look at your pet’s body condition (weight).
Having two people may help with these pictures - one person to keep the pets’ attention and focus, while another person takes the pictures
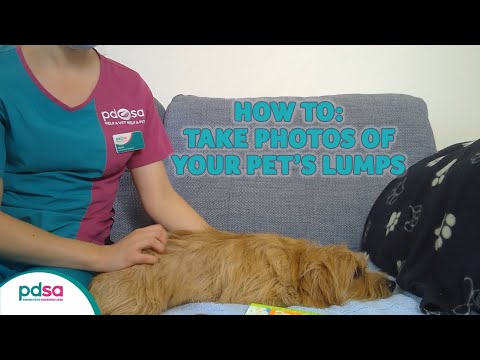
How to take photos of your pet's lumps
Video found at youtu.be/mMLKAQrAcxU
You will need to take at least two images, one close up image of the lump, and another further away image so your vet can tell how big it is and where it is on your pet.
It may help to use a ruler alongside lump. If this is not possible try to use a standard sized object as your size gauge guide such as a 10p coin.
If the lump is on your pet’s tummy, try to take a picture when they are relaxed on their back.
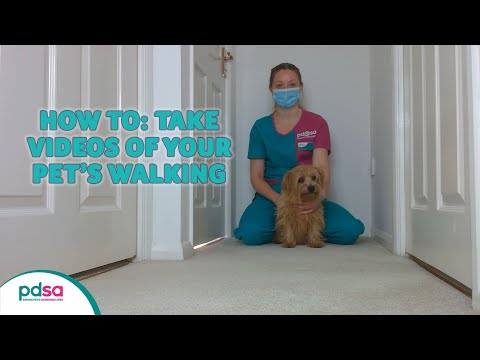
How to take a video of your pet walking
Video found at youtu.be/06UaKqcZR4M
If your pet is limping your vet will need to see which leg they are lame on, how lame they are and how they walk.
Never force your pet to walk if they are in pain.
Dogs
It’s often easiest to put dogs on a lead to video them.
If two people are available - have one person leading them in a hallway/large room/outdoor space, while the other person videos.
Get them to walk (not run) towards and away from the camera for several paces, then if possible take a video of them walking past the camera (from the side).
If you’re on your own, video your dog as they walk away from you and then call them back. Repeat several times if necessary.
Cats and other small pets:
Can be more difficult to film walking because they won’t be used to walking on command.
It’s best to move away from them and video them as you call them back. A treat or toy may be helpful to motivate them.
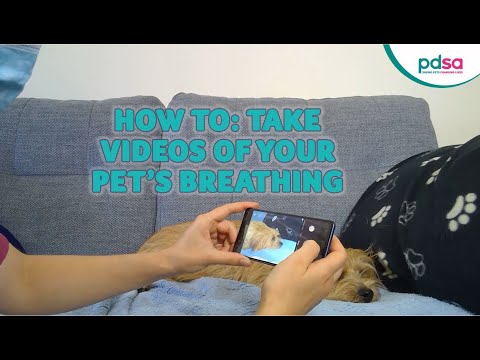
How to take a video of your breathing
Video found at youtu.be/20VpfQjDo28
Your vet needs to see:
How quickly your pet is breathing.
If they are breathing regularly or unevenly.
How much effort is involved in taking the breath - is it more or less than usual for your pet?
It’s best to take the video from side-on as your vet needs to be able to see their chest and abdomen (tummy) movements, as well as their mouth.
We suggest a 10-20 second video.
Videoing pets of different sizes
Cats, small dogs & small pets
It’s easier to take a video of their whole body from the side, either when they are lying down or standing.
If they are panting or breathing with their mouth open, this is an emergency.
Medium & large dogs
You may have to focus on the chest and abdomen first, then move to the mouth in a different video or shot.
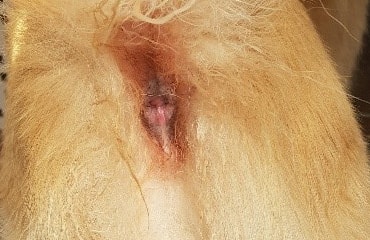
How to take photos of your pets anus / back end
Your vet needs to be able to see a close up image of the problem area.
Ideally, take a picture with your pet standing up.
Hold their tail up and move any fur out of the way.
PDSA Client Guidelines
Please only send a maximum of four photos or one short (10-20s) video per email (send multiple emails and crop videos if necessary).
When sending the pictures/videos please include:
the animal’s name and the registered owner's surname in the subject of the email
a very brief description of the issue in the email itself
Published: Sept 2020
Did you find this page useful?
Tell us more
Please note, our vets and nurses are unable to respond to questions via this form. If you are concerned about your pet’s health, please contact your vet directly.
Thank you for your feedback
Want to hear more about PDSA and get pet care tips from our vet experts?
 Video found at youtu.be/zJrS3DqzwxI
 Video found at youtu.be/urHfoaaww60
 Video found at youtu.be/0MBCoAGG7Dc
 Video found at youtu.be/uBAT037ht-s
 Video found at youtu.be/mMLKAQrAcxU
 Video found at youtu.be/06UaKqcZR4M
 Video found at youtu.be/20VpfQjDo28