It’s been a tough year for everyone, so I’ve decided to get crafty this Christmas and have a go at making some presents. You can find a few ideas already on homemade gifts for your four-legged pal, but today I’m making something for the pet lover in your life.
Now, while I have a sewing machine, I’m by no means a pro, so I’ve tried to keep this as simple as possible (but what you hopefully get is a lovely looking scatter cushion!). It’s a smaller feature cushion so can easily be made from fat quarters.
This is a gift aimed at people, but if you’re planning to give it to your four-legged friend you’ll need to make sure the stitching is really secure and always supervise them with it. Regularly check your cushion for signs of wear and tear.
You will need:
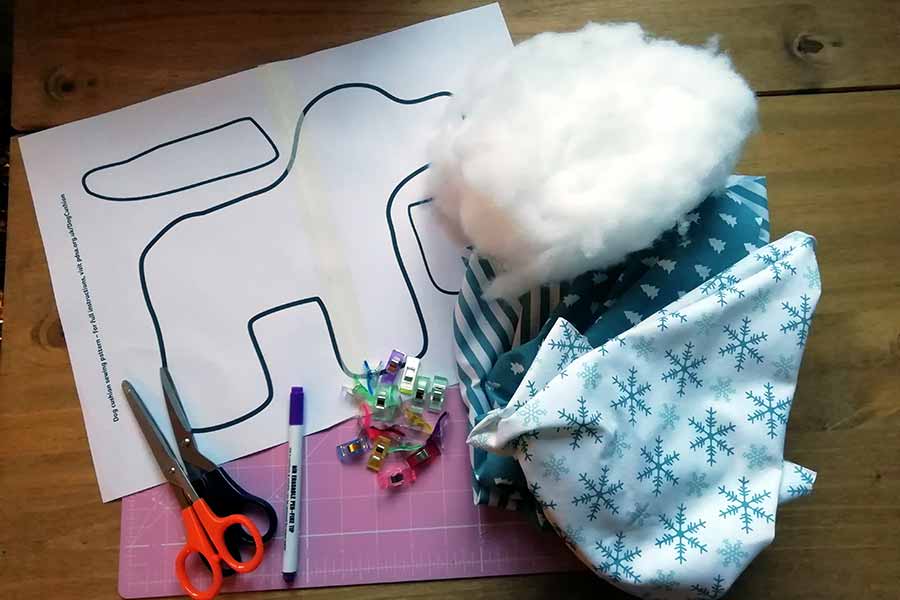
- A print-out of our simple dog cushion pattern. You can download the A3 version of our pattern or download the A4 version of our pattern if you can’t print A3, then just tape the two sheets together!
- Fat quarters/ fabric of your choice (I’ve used three different patterns but you can use as many or as few as you like!)
- Paper scissors (for cutting the pattern out)
- Fabric scissors
- Stuffing for your cushion
- Pins or clips
- A fabric pen or pencil
- A sewing machine or needle and thread if you want to do it by hand.
Step one – cut out your pattern
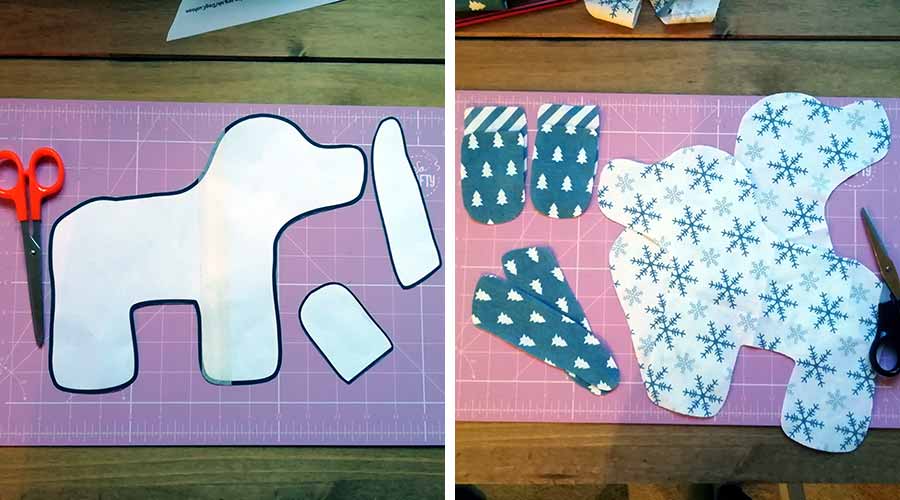
The first thing you’ll need to do is cut out the pattern. My printer can’t print A3, so I used our A4 template and taped the two sides together (you might have to trim the edges a little so they line up better).
Then you need to cut your pattern out in your chosen fabric. You’ll need:
- Two of the main body
- Two of the tail
- Four of the ears.
I chose to do the body in one pattern, the tail and tops of the ears in another, and the underside of the ears in another, but this is entirely up to you! I used my fabric pen to draw around the pattern on the back (non-patterned side) of the fabric then cut this out, but you can use whatever method you prefer.
Important: Remember to flip your paper patterns over if your fabric isn’t double sided!
Step two – sew your ears and tail
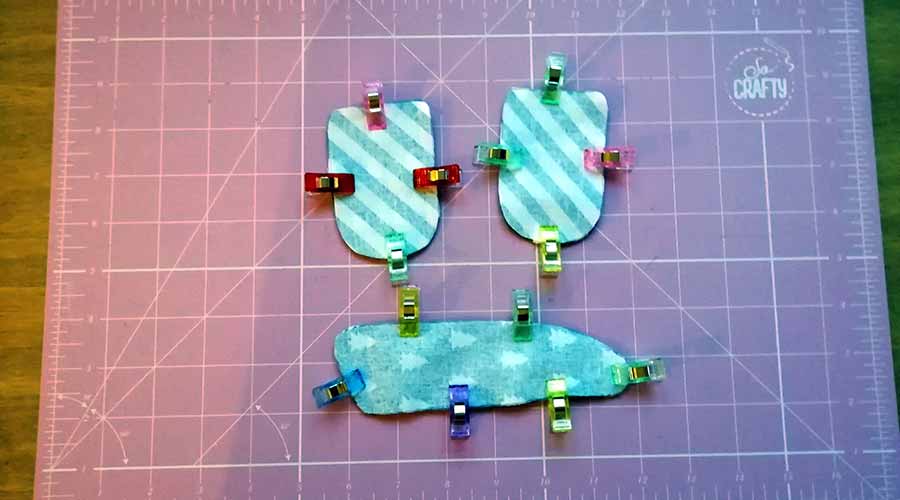
You’ll need to sew together your ears and tail. Pin or clip them together first with the right sides (or patterned sides) facing inwards, then stitch around the edge. Remember to leave a gap so you can turn them back the right way!
Step three – turn your ears and tail the right way around and sew them up
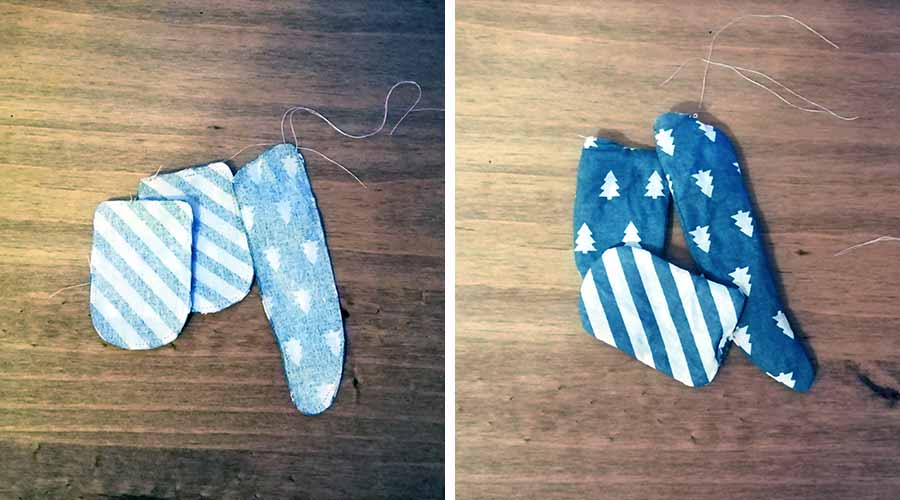
Now you can turn your ears and tail inside-out (or the right way around depending on how you want to look at it). You might need to give them a gentle prod with a pencil in any corners or curved edges to make sure they’re completely popped out.
At this point, you can add a little stuffing to the tail if you’d like, like I did. It’s entirely up to you though! Don’t add too much, as you’ll need to stitch it into the body later.
Once they’re the right way around (and your tail may be stuffed), carefully stitch up the holes. I did this on my machine to save time, but if you’d like a neater finish I’d recommend stitching by hand.
Step four – attach the ears to the body
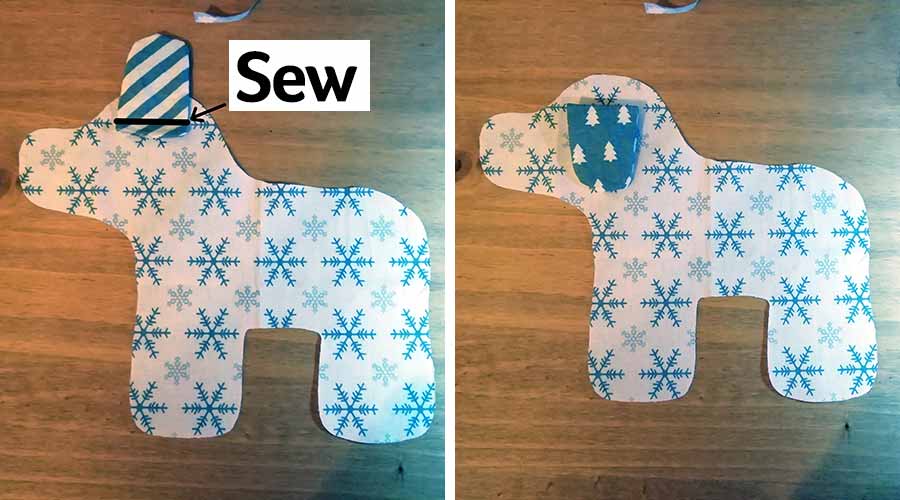
To attach the ears, pin them to the right (or patterned) sides of the body pieces you cut out earlier. The idea is that the ears will flop on the side of your dog-cushion’s head, so you need to stitch a bit of a tab.
Make sure you don’t pin the ears too close to the top of your dog’s head, because you’ll still need to leave a bit of a seam allowance for stitching the body pieces together. Sew in a straight line across the underside of the ear, so when it flops over the ‘tab’ is covered and you see the top side of the ear (see photo above for reference). Then do the same for the other body piece. After you've sewn your ears on, you might want to give them a quick press with the iron to make sure they flop the right way and don't stick up!
Step five – pin the body and tail together and sew
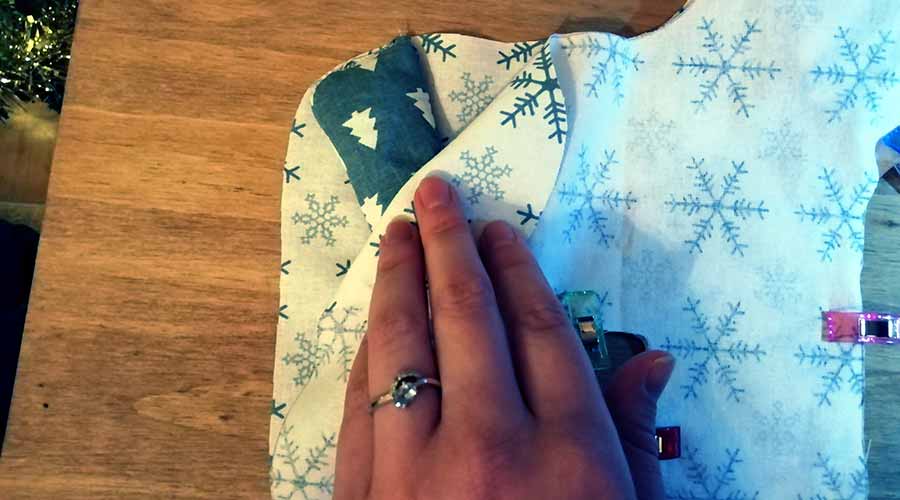
This is the fun (read: complicated and annoying) part. You need to pin or clip the body pieces together with the right (or patterned) sides facing each other, so the ears will be on the inside.
While you’re pinning, you’ll also need to pin the dog’s tail in place by sandwiching it between the body pieces. It doesn't matter if there is a little poking out where you pin it as this will make sure it gets stitched securely.
Once everything is pinned and ready, stitch around the outside leaving a large enough gap for turning your cushion back the right way around. You’ll also need to stuff through this gap, so make sure it’s big enough for that. I left the dog’s stomach open for this.
Step six – turn your cushion the right way around
Once you’ve sewed the edges together, turn your cushion the right way around through the gap you left. You might have to gently poke a pencil around inside to make sure everything is fully out, especially around the nose and feet. (I was a little too heavy-handed with my pencil pushing so had to do some emergency repairs on my cushion’s head!)
Step seven – stuff and sew up

Once your cushion is the right way around and you’ve done any emergency repairs needed (oops), it’s time to get stuffing! Again, I find a pencil helps a lot here to make sure the stuffing gets into every corner and awkward place.
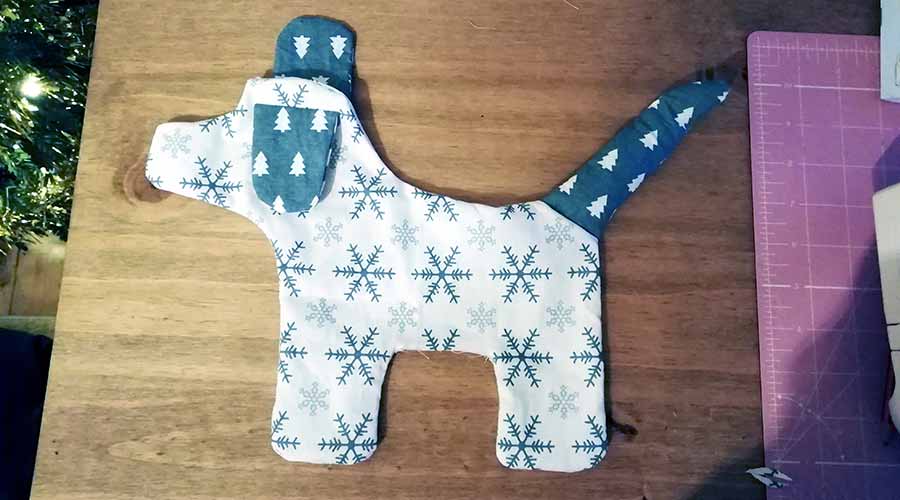
Don’t over-stuff your dog as you’ll need to sew up the gap. I did this by hand because I found it easier, but you can use a sewing machine if you’d prefer. If you like, you can sew the gap a little, then pop a bit more stuffing in before sewing it up completely.
And that’s it! You’re all done! It’s a nice and simple gift that looks great and will be perfect for any animal lover.
If you liked our guide, we’d love it if you could share it with your friends using the buttons below, or even donate to help poorly pets this Christmas.