Shopping for Christmas has been a little different for a lot of us this year. If you’ve still not found the perfect gift for your furry friend, why not make something using bits and bobs you already have?
This is a great little project that’s quick and easy to do. You can even get the kids helping if they like a bit of sewing!
You will need:
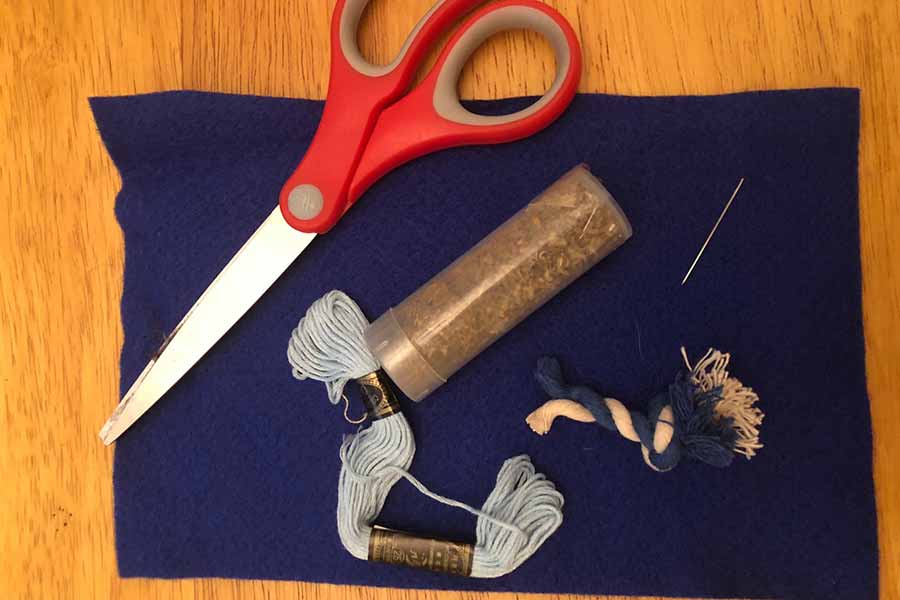
- 2 pieces of felt or fabric (ideally different colours/patterns)
- Catnip
- String (for the tail – it’s best to knot the end)
- Needle and cotton
- Scissors.
Step 1
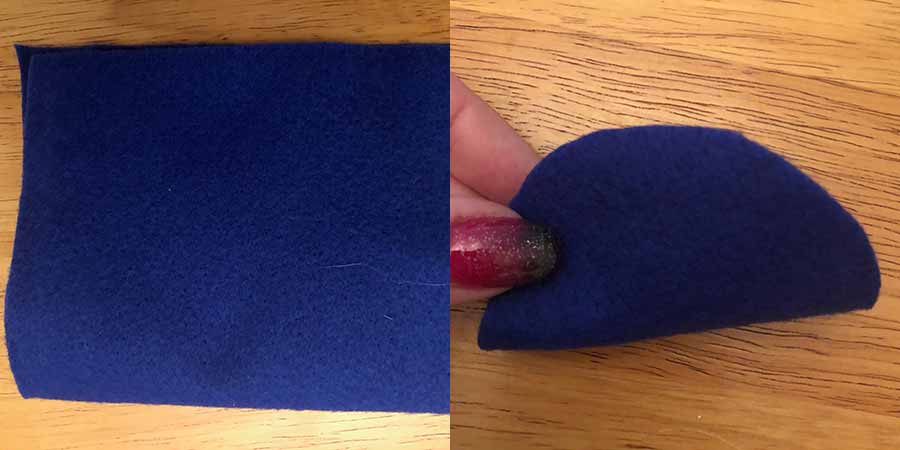
Fold your material in half and cut a semi-circle from the folded edge. Alternatively, you could lay your fabric out and cut around a circle template but it’s up to you! Remember to make sure that your toy will be big enough that your cat won’t accidentally swallow it.
Step 2
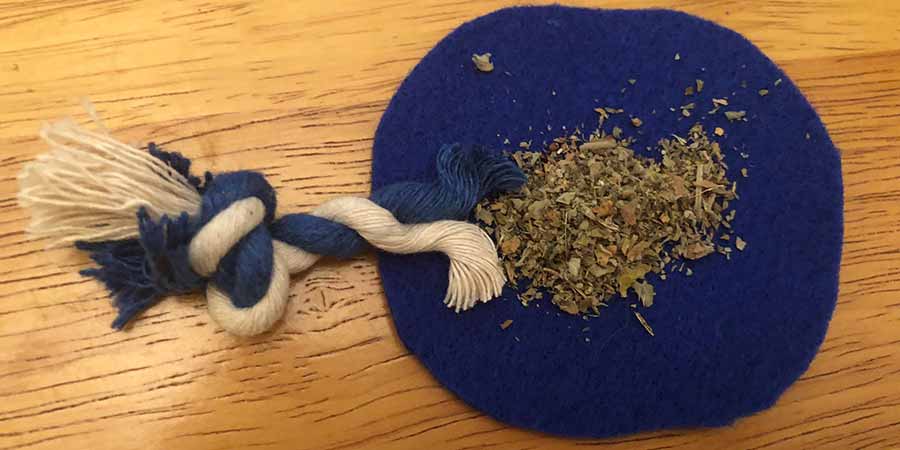
Lay your circle out flat and add your catnip and string tail. You can make the tail with just one piece of string or you could plait some together, just remember to knot it at the end!
Step 3
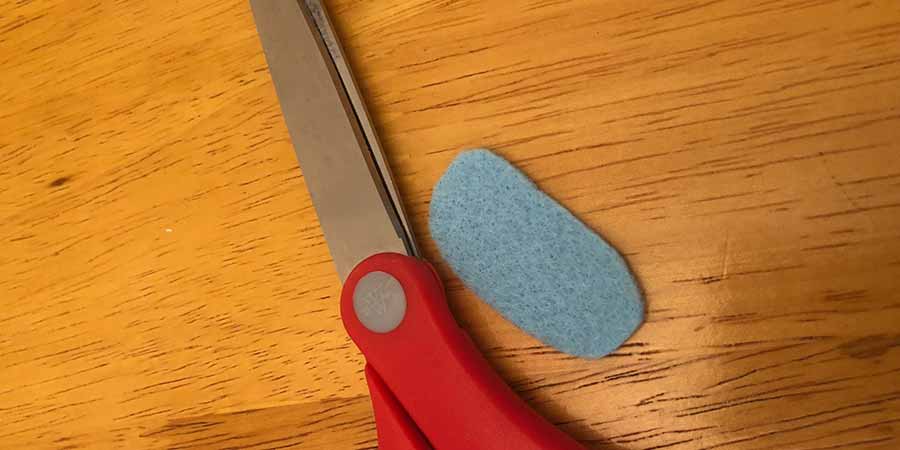
Cut a small oval out of your second fabric and fold it in half to make the ears.
Step 4
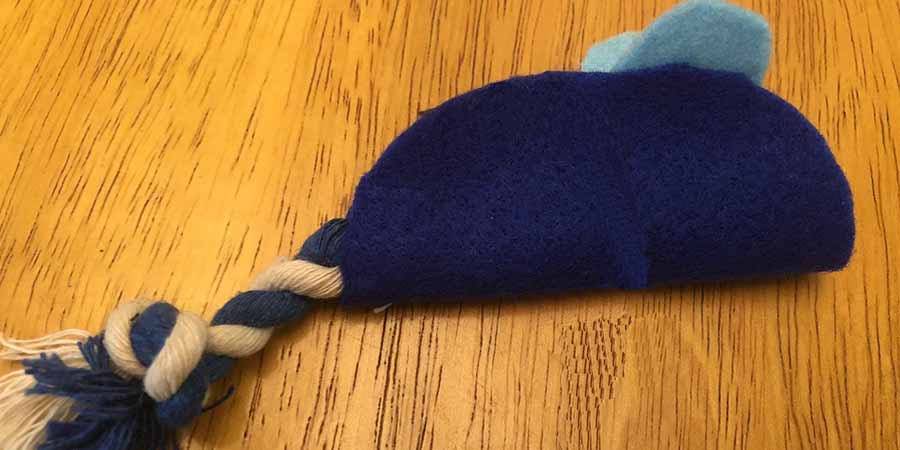
Fold your circle with the catnip in in half and tuck the ears into the top. Now you’re ready to sew!
Step 5

Sew around the outside of your toy, making sure it’s nice and secure with no gaps (otherwise your catnip will leak!).
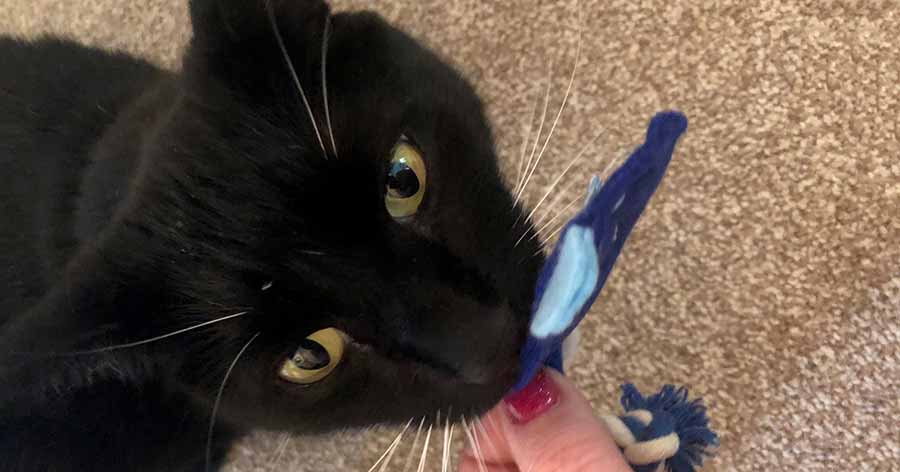
That’s all there is to it! Remember to always supervise your cat with their toy and replace it as soon as it starts to show signs of wear.