There’s nothing more rewarding than hearing your cat purr when they’re content. It’s a well-known fact that cats absolutely love cardboard boxes. So, before putting your boxes in the recycling, why not build your beloved pet a cardboard cat house?
It’s cheap and easy to make using everyday items around your house. Save yourself some money and build an indoor cardboard cat house with our easy how-to guide!
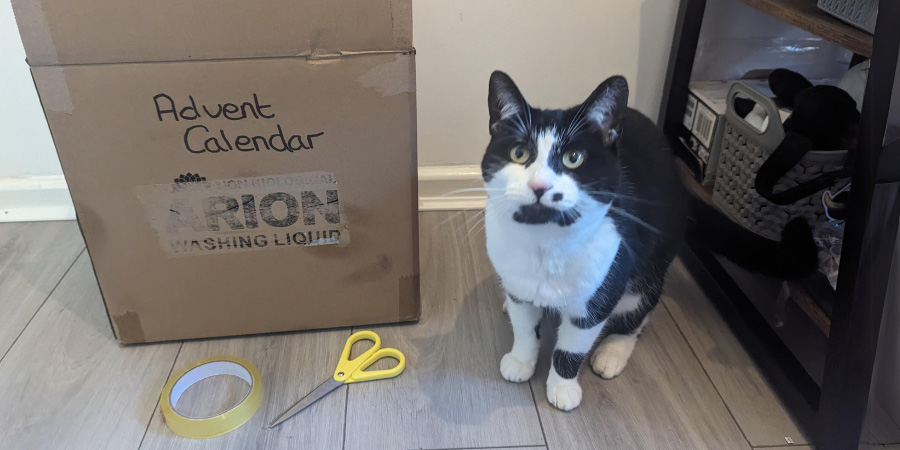
What you’ll need
- Suitable cardboard box
- Scissors
- Tape
- Pen (optional)
- Decorations (optional)
- Cat (optional)
Step 1: Find the purrfect box
The first step involves finding the right box for your cat making sure that your cat can comfortably fit in. Ensure that it’s not too small for them and that they’ll have enough space to sit.
It’s also wise to remove any small loose items that your cat could swallow or choke on, such as staples or tape. As an extra precaution, wipe down the box with a cloth to remove any unknown debris.
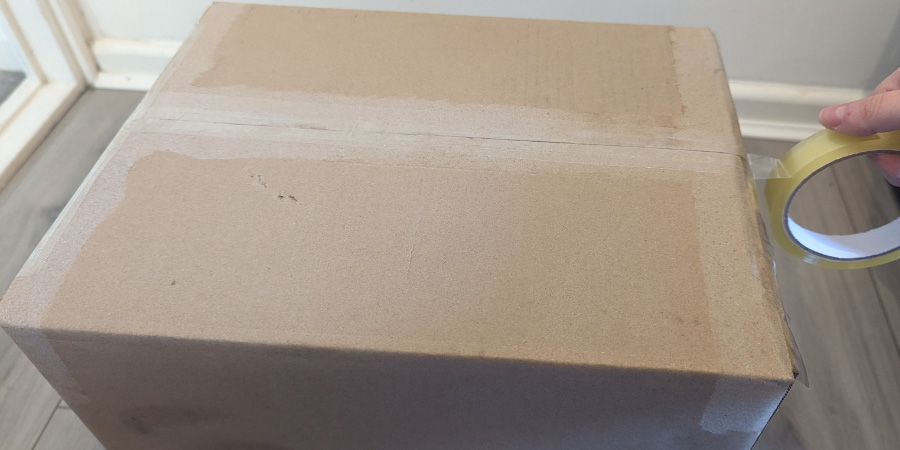
Step 2: Tape the bottom of the box
To begin building your cardboard cat house, you’ll need to turn over the box and tape the bottom. Make sure that the tape is securely on the bottom and is out of the way of your cat’s prying eyes.
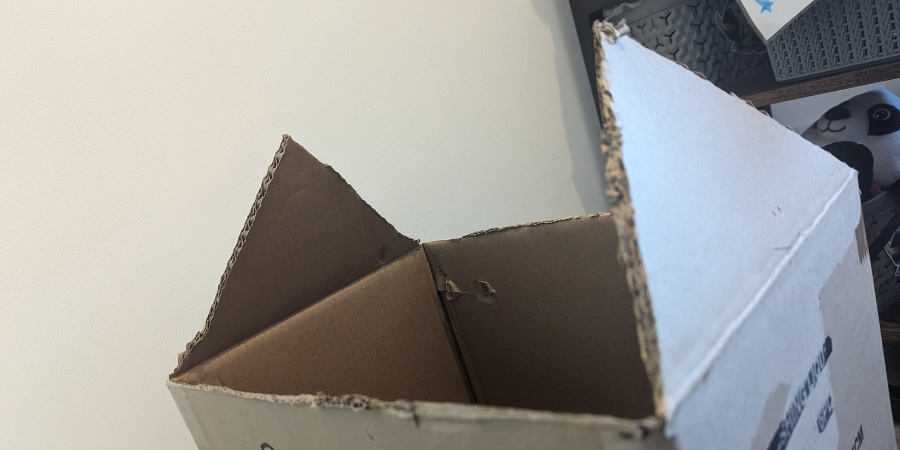
Step 3: Cut off two flaps
Now the bottom is secure, you need to cut off the two flaps that are on opposite sides. Once this has been done, you’ll need to cut triangle shapes on the remaining flaps to create arches (like shown in the picture below). To make it more precise, you could draw the outline before cutting.
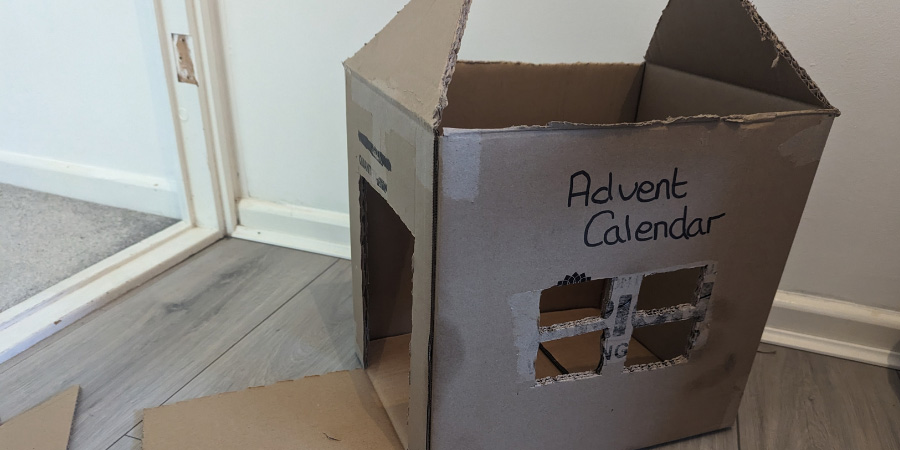
Step 4: Make the door and windows
Decide on which end you would like the door to go on. Once you are happy with the location, draw the stencil and/or start cutting the door. You can be creative with this part or just create an open space for your cat to safely get in and out of.
On the connecting sides to the door, make some windows so that your cat can see out of the house. Again, you can draw this first with a pen or just jump straight into cutting. We cut out four rectangles for the window (shown in the picture below) but feel free to do whatever design you want.
Step 5: Finish off the house
To complete building your cardboard cat house, you’ll need to create a roof. You can do this by using the flaps you cut off to make it. Decide on whether you want it to be a flat roof or a curved one.
Once you’re happy with the roof, you can design your cat house however you like. Be sure to only use paints and materials that are safe for cats. Do not use oil paint, spray paint or wall paint, as these are dangerous for cats. If you are unsure of what to use, consult your vet or just go without a design. Your cat won’t mind either way!
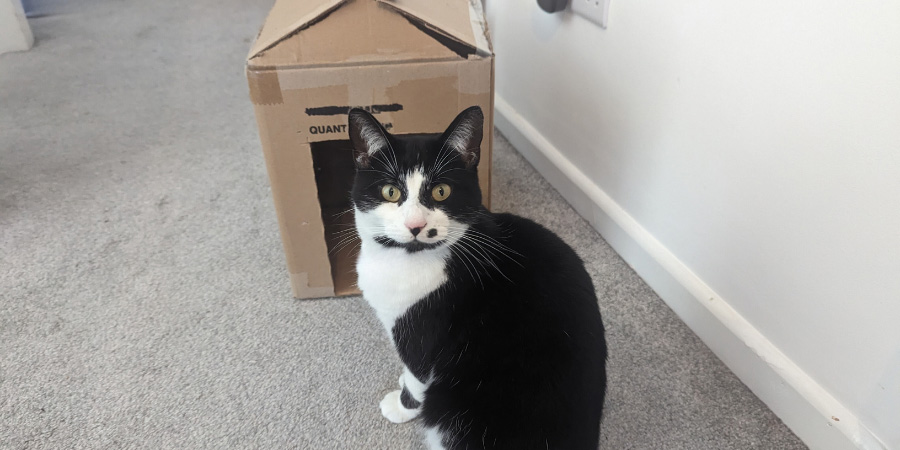
Now your cat can enjoy their very own cardboard cat house!